One, two, three, one, two, three... keyboard test :). Well hello crafty peeps and a very happy New Year to you all! It's been a while since I last blogged... I hope you have been keeping well.
I don't get to craft much these days. My crafty mojo seems to come and go as it pleases and it's not always possible to catch it at a convenient moment lol 😀. It seems though that it tends to make a brief appearance around Christmas and the festive period so I thought I'd share my most recent Christmas themed make with you.
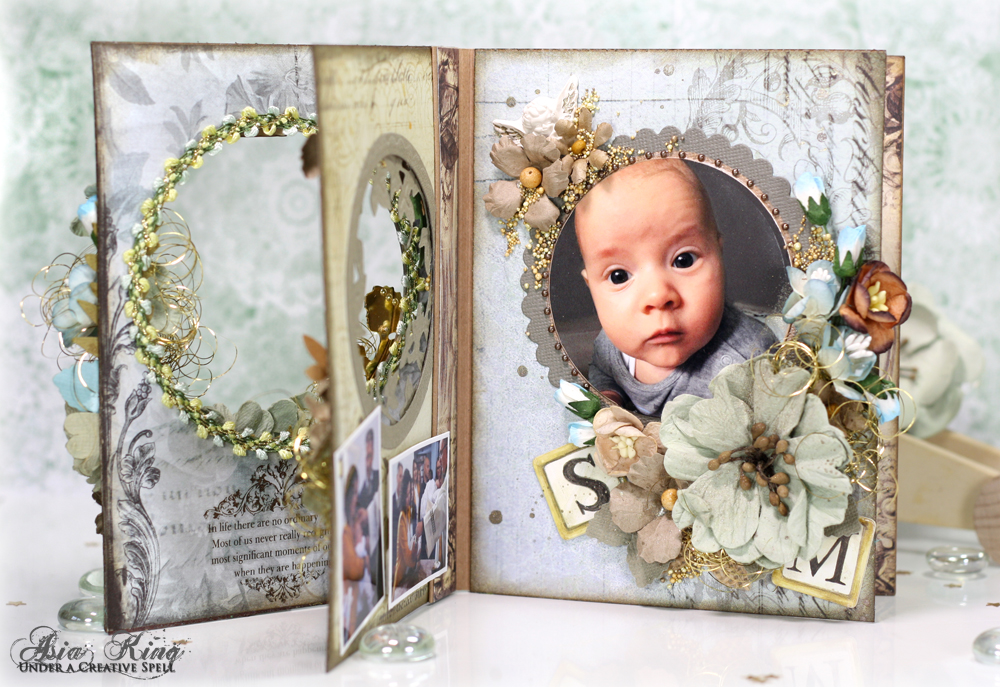
This scrapbook layout took me a year to complete from when I made my background... I know! 😱 I guess, the creative process needed some time to mature ha ha ha. 😵 Luckily this sketch gave me an idea how to finish my layout.
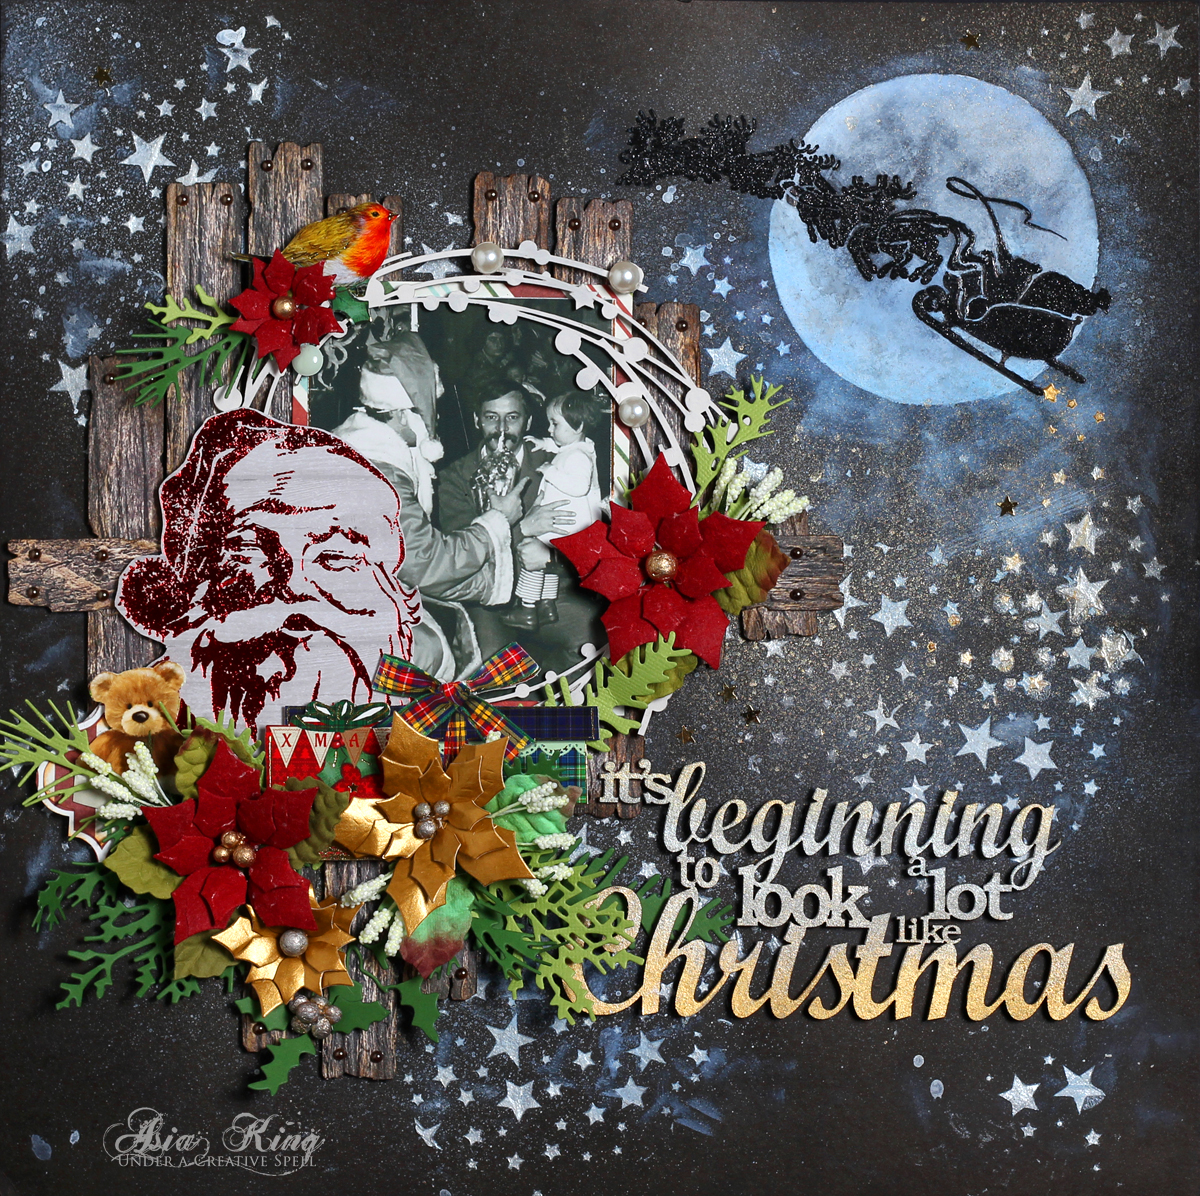
I absolutely love this photo of my Dad and the little me (many many moons ago!) saying 'hello' to Santa. I wanted to create a page that would reflect my memories of Christmas when I was a child.
In Poland, Christmas celebrations start with a festive family dinner on Christmas Eve and that's when we also get our Christmas pressies from Gwiazdor (a Polish equivalent of Father Christmas). It was my family's tradition that, before we sat at the table, my brother and I would always go outside to wait for the first star to appear in the sky. When it did, it was time to start our celebrations.
In that short period of time that we were outside Gwiazdor would always visit our home to leave presents under the Christmas tree. As you can imagine the arrival of that first star in the sky always had something really magical about it.
NB. I've got no idea what used to happen on cloudy Christmas Eves where we couldn't see any stars... I don't recall having to sit outside all night so there must have been an alternative plan of some sort ha ha ha!
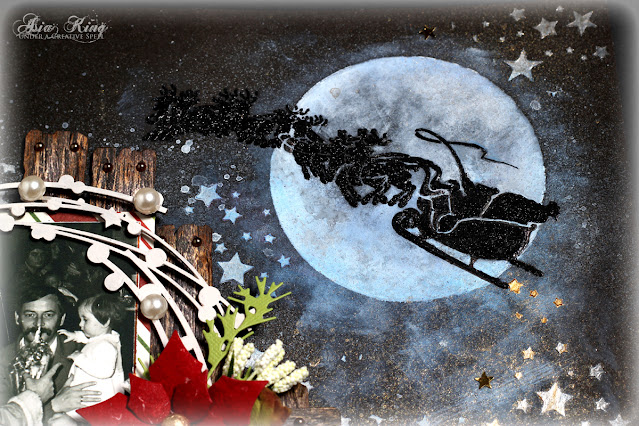
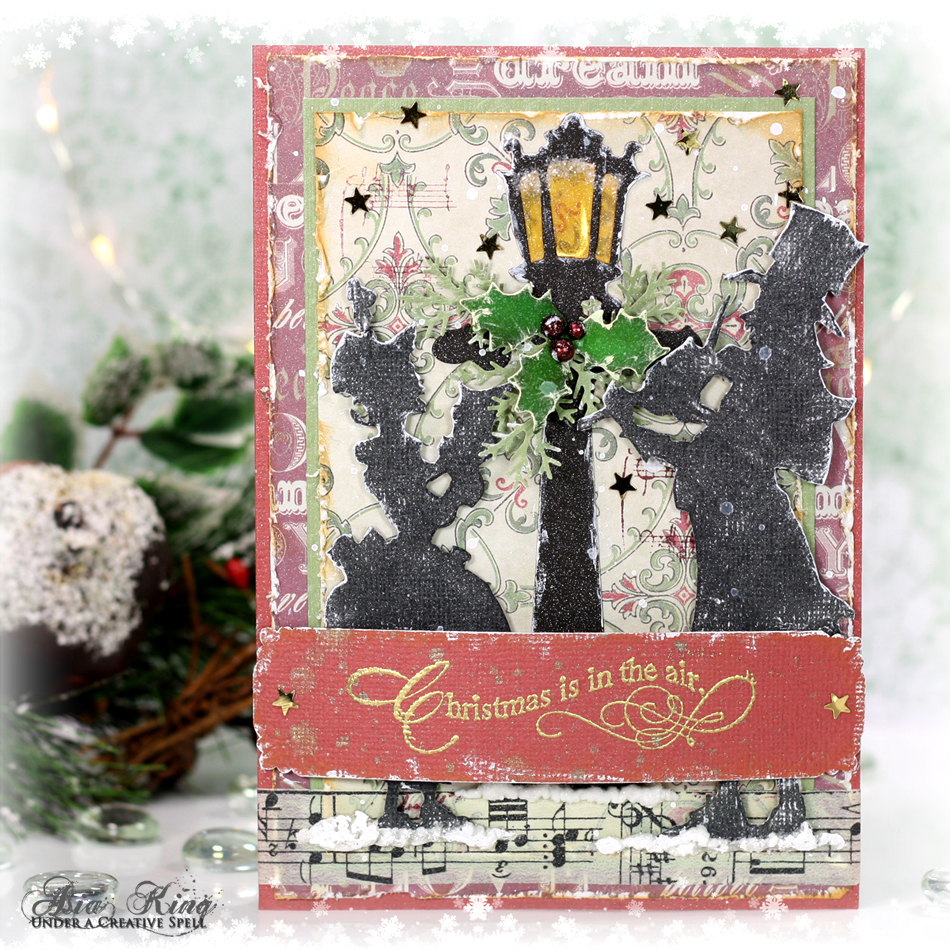
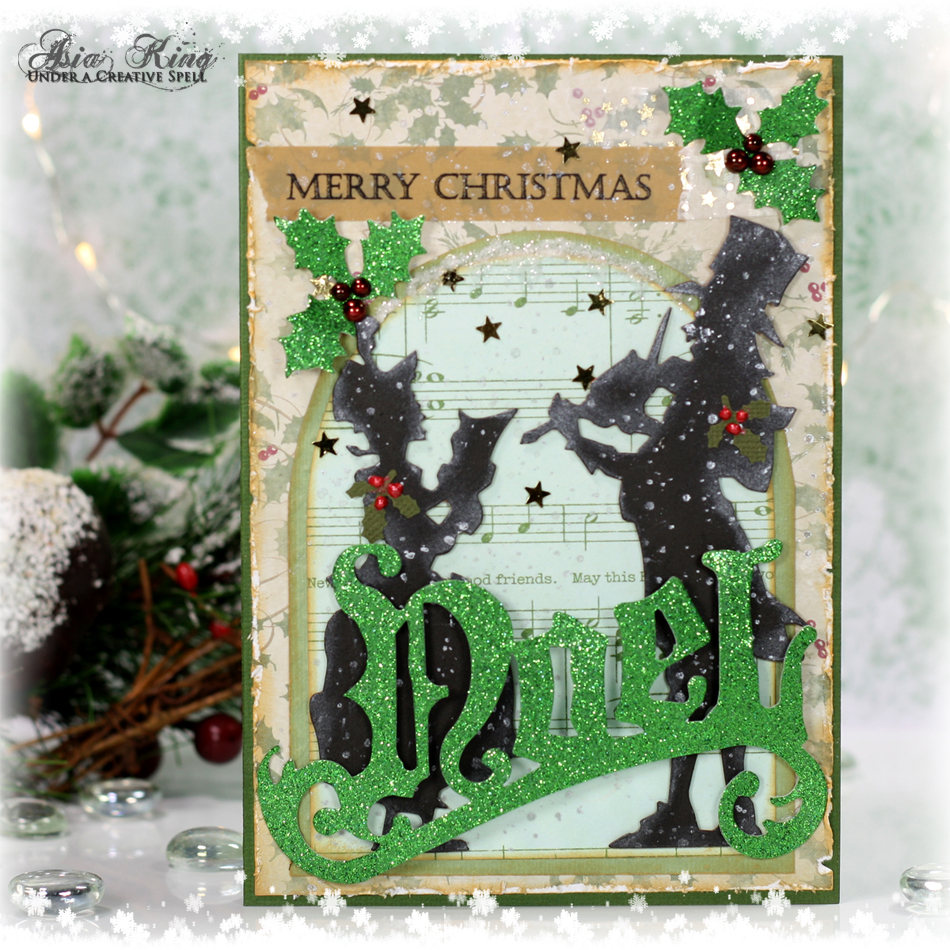
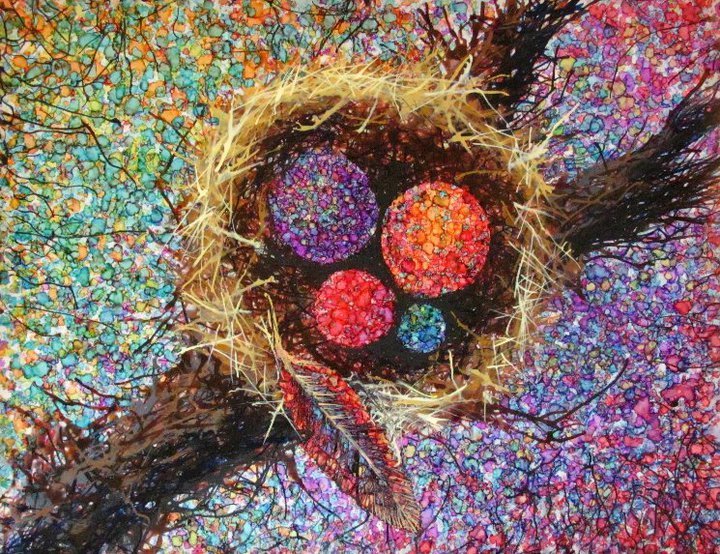
For my background I used a Sleigh & Reindeer (Dreamweaver) and a star background stencil and various embossing pastes from Dreamweaver. I also added some lovely shimmer with Heirloom Gold Perfect Pearls mist.
The wooden planks have been 'freestyled' from patterned paper, inked with distress inks, and embossed with wood texture embossing folders. I've not tried this technique before, and I love how these came out. The texture is just fab!
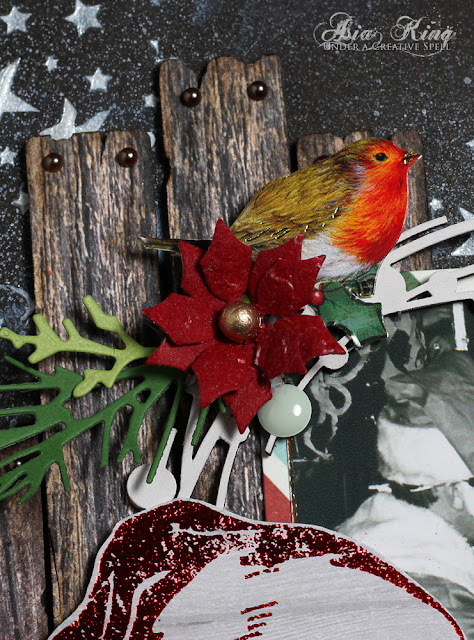
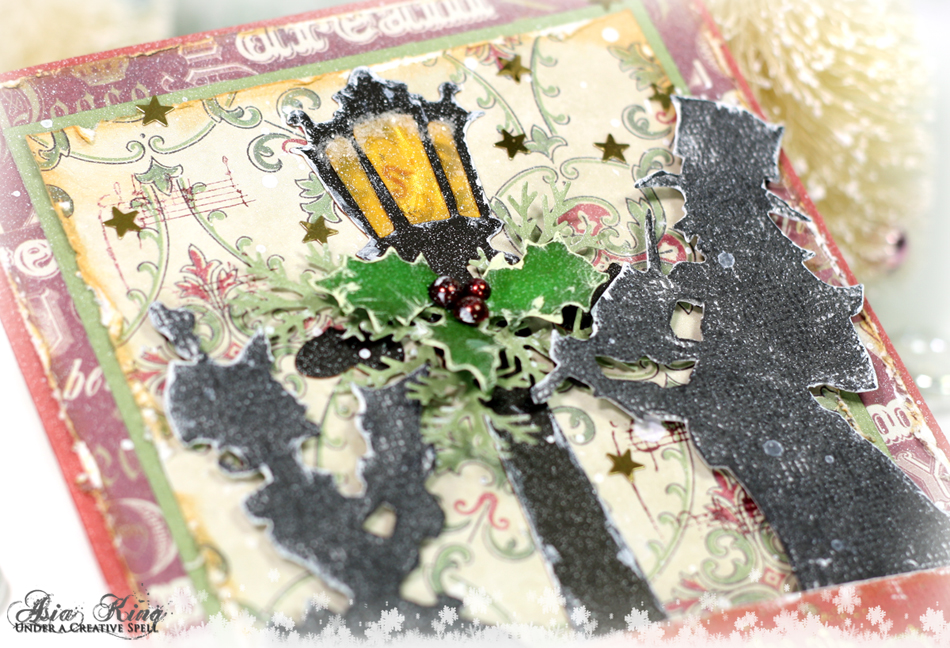
The beautiful chippies are from Dusty Attic and I painted them with DecoArt paints. I secured them to the page using my trusty Adhesive Sheets.
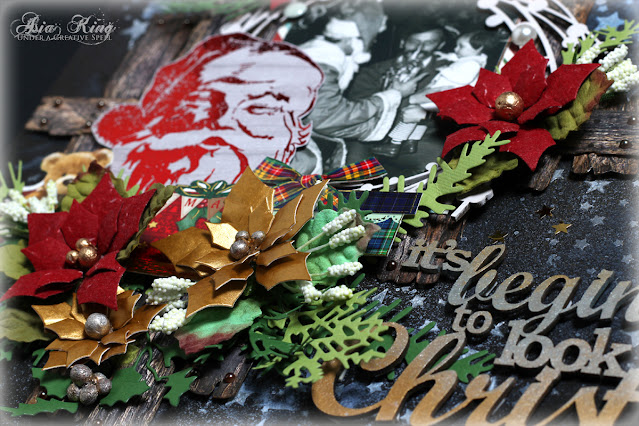
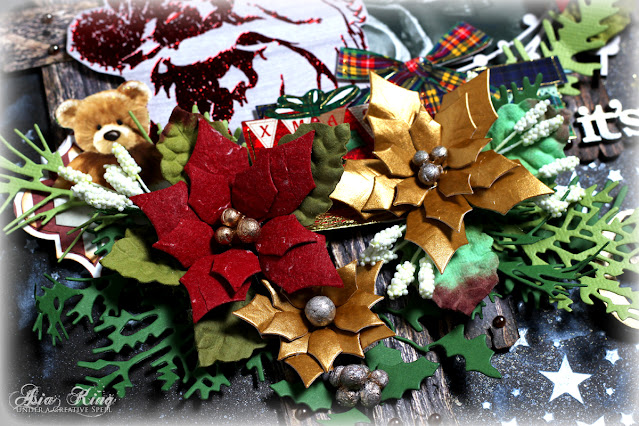
I die cut some poinsettias and added lots of foliage to embellish my page. I also fussy cut a handful of lovely elements from old Christmas cards. I layered them using 3D Adhesive Dots.
Thank you for stopping by and I hope you enjoyed walking down the Christmas memory lane with me. That's all from me for now. Till next time...
Big crafty hugs


♥ Follow Me On Bloglovin'
I am entering the following challenges:
Country View Challenges Jan 2022 - Your Year to sparkle and shine
Simon Says Wednesday Challenge - Something New
The Scrappy Sketches - Mapka